Charlie Barnes posted on January 24, 2009 12:55
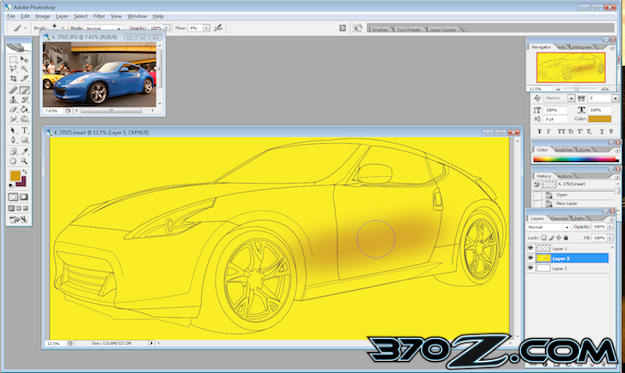
Step 5: Now that you have your white background, create another layer for your color. This time I chose Yellow. I again used the Paintbucket to fill Layer 3 with Yellow. This will be the base of your car. Using the original image as a reference, I began to shade the paintjob using the paintbrush tool with an Opacity of 8 with a darker brown-orange color. I continued to "paint" with this process until I was done shading.
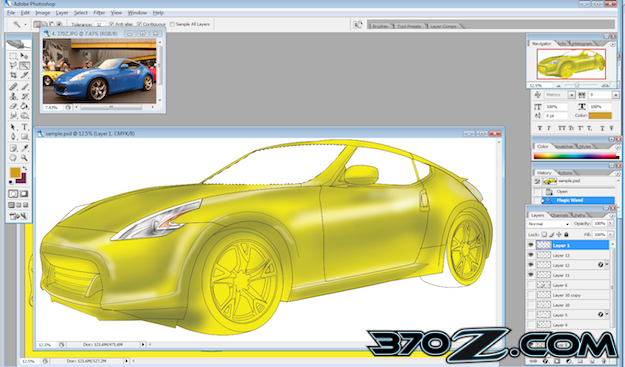
Step 6: Using the Magic Wand Tool or "W" I went to the original line art layer(layer1) and hit SHIFT and proceeded to click on the windows. Once they were selected, I began to color the windows with a black and grey for some window detail. I did the same technique for the Tires and Wheels, Headlights, and Grill.