Charlie Barnes posted on March 28, 2009 22:43

 |
| 8. BAM! There you go! I did the same thing for the rear of the 370Z. |
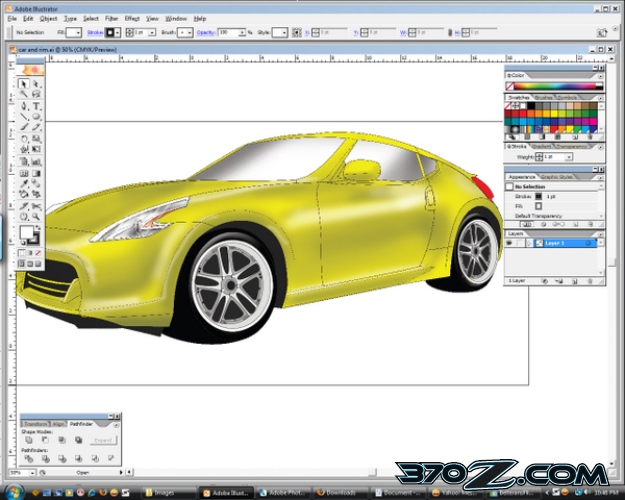 |
| 9. Almost Done! It's lookin' KILLER! |
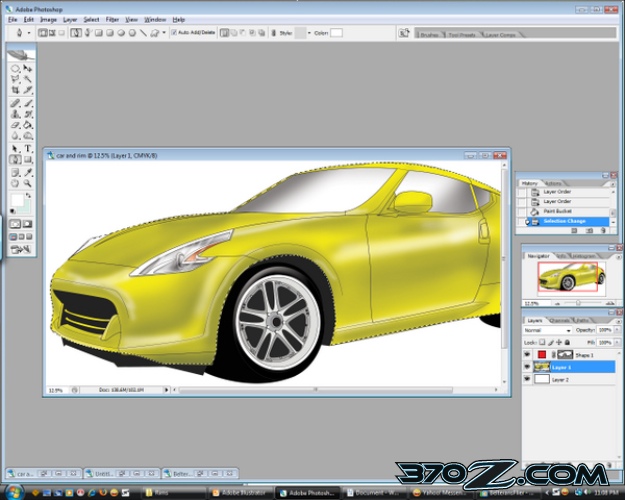 |
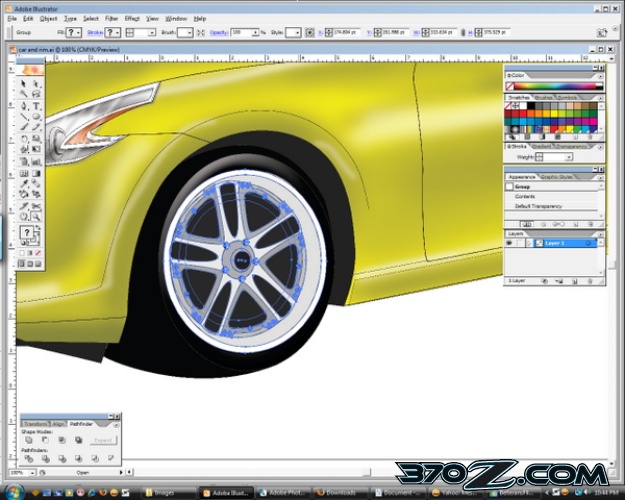
| 10. Now after saving my work in Illustrator, I opened my artwork in Adobe Photoshop. With the Pen Tool, trace around the 370Z except for the tires and wheels. Remember to take the Opacity to Zero on the Shape Layer in your Layers Palette. Once you are done, click the outline on the Shape 1 Layer pallete so the 370Z is slected. |
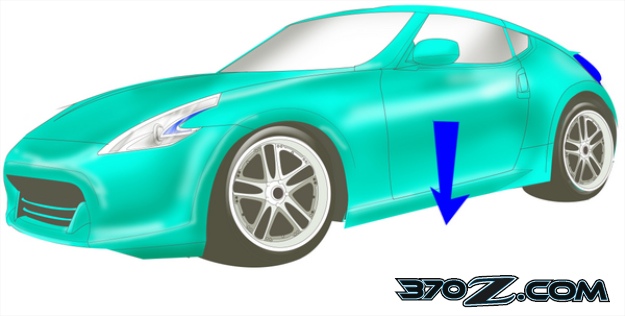 |
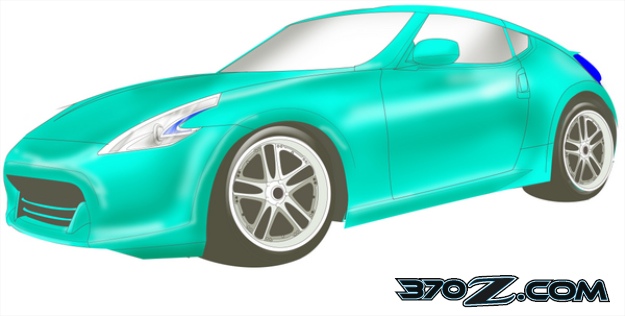
| 11. With the Move Tool, drag the 370Z down to the desired ride height. I also played with the color. I clicked on Image/Adjustments/Hue and Saturation and played with it to get the desired color. I chose this blue/green color. |
 |
| 12. There you go! Your lowered and rimmed 370Z! |
Pages: 3 of 3
Previous Page